

when were the elements and principle of art created
5 tips for creating dramatic key art
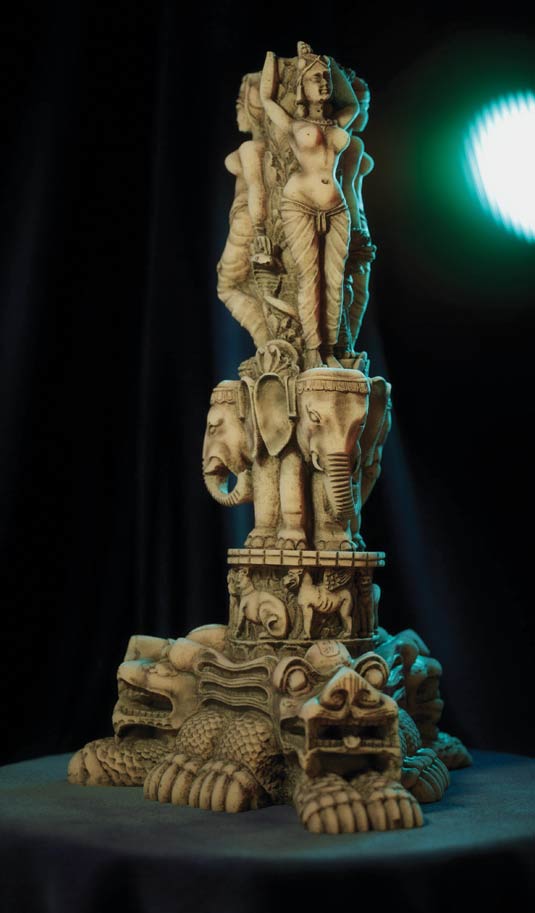
When I'm asked to create images for product visualisation, one of the challenges is the lighting setup. You have to make sure the subject's contours and silhouette are nicely underlined to present it in the best light and accentuate the aspects the client wants to put forward.
Unbiased rendering engines offer the possibility to work in ways that weren't possible before. I recently had to create a series of renders for small items. I decided to create a simple object-centric light stage that I could reuse for every single render, with the ability to quickly manipulate and modify the lighting setup that would then be shared across all scenes.
This setup comprises a set of 14 planes organised symmetrically around the object to be rendered. Each of these planes is set as a light emitter driven by its own shader. The shader attributes are shared across the board and each shader instance is named after the plane it is assigned to (for example, top, bottom, and left). That way, I can easily control each plane independently.
Thinking of the whole set of planes as a simple sphere centred on my subject, I can easily rotate the entire rig to adjust it to the view angle, and scale it up and down in order to fit the size of the subject. Each light is driven by a simple circular or square gradient texture that I reshape through a scalar ramp.
We can use procedural or raster textures to add details to our lights, like barn doors, blinds or even import high dynamic range (HDR) images of windows or any other bitmap source to add more richness to our scene, and provide a good fill light if necessary. Finally, a couple of simple diffuse reflector planes strategically positioned around the object help seal the deal.
Scroll down for five tips for creating dramatic key art...
01. Set up your object
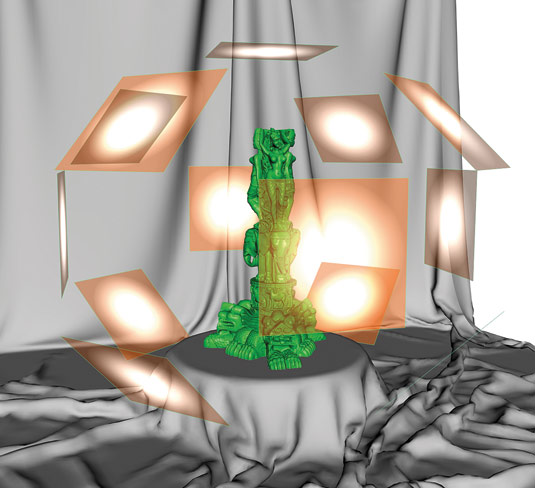
This technique is used for object-centric shots. Build a simple generic stage that will not distract your viewers from the focus – in this case, a simple cylinder covered with an nCloth object.
Once this is in place, organise the planes around your main subject in a geometric pattern. Keep the setup clean and name your objects appropriately so that you can easily tell which one you will affect, depending on their respective shaders.
02. Set up the UVs
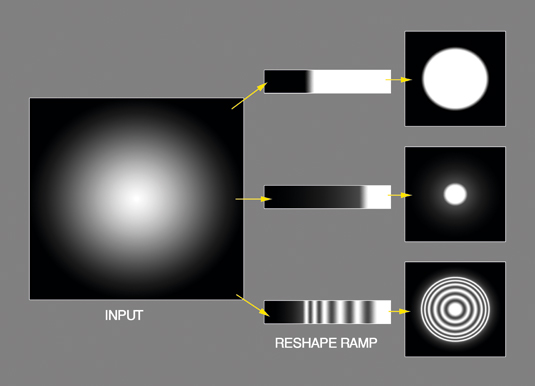
Remember that each of the planes arranged around your focal object must have UVs in order to be able to support texture input. Set the UVs to a range of 0 to 1. I always use a 16-bit gradient texture to drive the intensity of my spotlights and keep the manipulations as precise as possible. These gradients are then reshaped using ramps in order to vary their intensity and radius and overall aspect.
03. Procedural textures
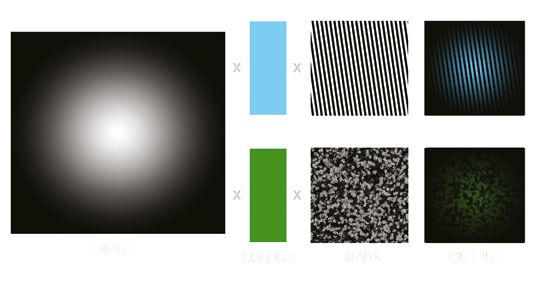
To add depth to the lights, we can use further layering. First I multiply the output with a colour. Then, thinking of it as simple mattes and shades for your lights using procedural textures, we can create objects like blinds or barn doors. All we need to do then is to adjust the width and height ratio of the texture. Alternatively, we can use simple bitmaps for more exotic effects, like foliage or more geometric shapes.
04. Placing reflectors
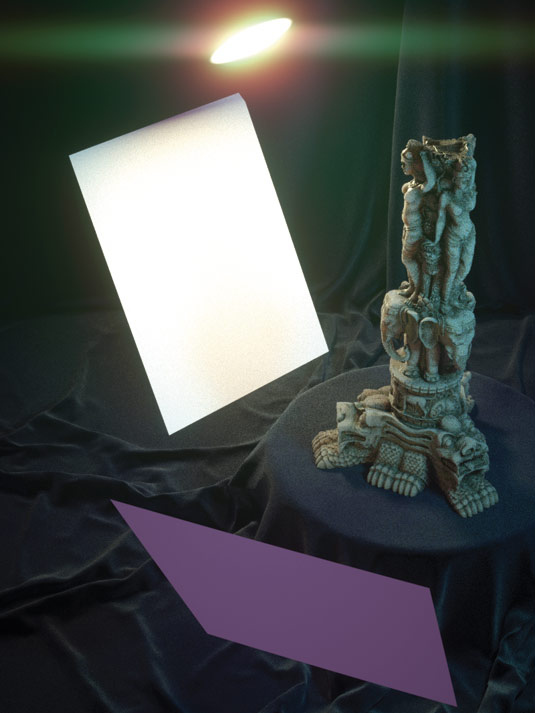
Once we're satisfied with the overall orientation, colour and intensity of our lights, we still have the option to polish the final results by placing reflectors around the scene in order to diffuse the light on the darkest contours of our subject.
Generally simple bright planes do the trick but sometimes, by adding a slight colour or specular aspect to the shader assigned to the reflector, we can enhance the richness of the final result.
05. Pro tip: light scattering
You can also use geometry other than simple planes as emitters to scatter your light in different manners. You can create simple gels or even highly diffractive shaders to obtain exotic effects!
Words: Hugues Giboire
Hugues Giboire is a 3D artist with more than 20 years' experience in the CG industry. He's a Bafta nominee for artistic achievement in video games. This article originally appeared in 3D World issue 184.
Related articles
when were the elements and principle of art created
Source: https://www.creativebloq.com/3d/creating-dramatic-key-art-111413539
Posted by: dellingerknobson.blogspot.com
0 Response to "when were the elements and principle of art created"
Post a Comment