

How To Draw A Cloud In Illustrator
If y'all've ever wanted to make a quick digital cartoon in Illustrator simply had no idea where to begin, this guide is for you! Y'all'll learn how to set your workspace in Illustrator, how to use the pen tool to draw (fifty-fifty if you "tin't" draw), and how to harness the power of keyboard shortcuts.
All of this was done on a Mac, in Adobe Illustrator CC 2022 version 19.two.1. If you're on a dissimilar machine or using a unlike version, your screen might not expect the same, just that'due south okay.
Setting up
For this example, I'll be drawing a strawberry. I'thou going to use a groundwork image to trace over to make information technology easier. You lot tin draw freehand if you want, or trace over an image yourself: do what feels right.

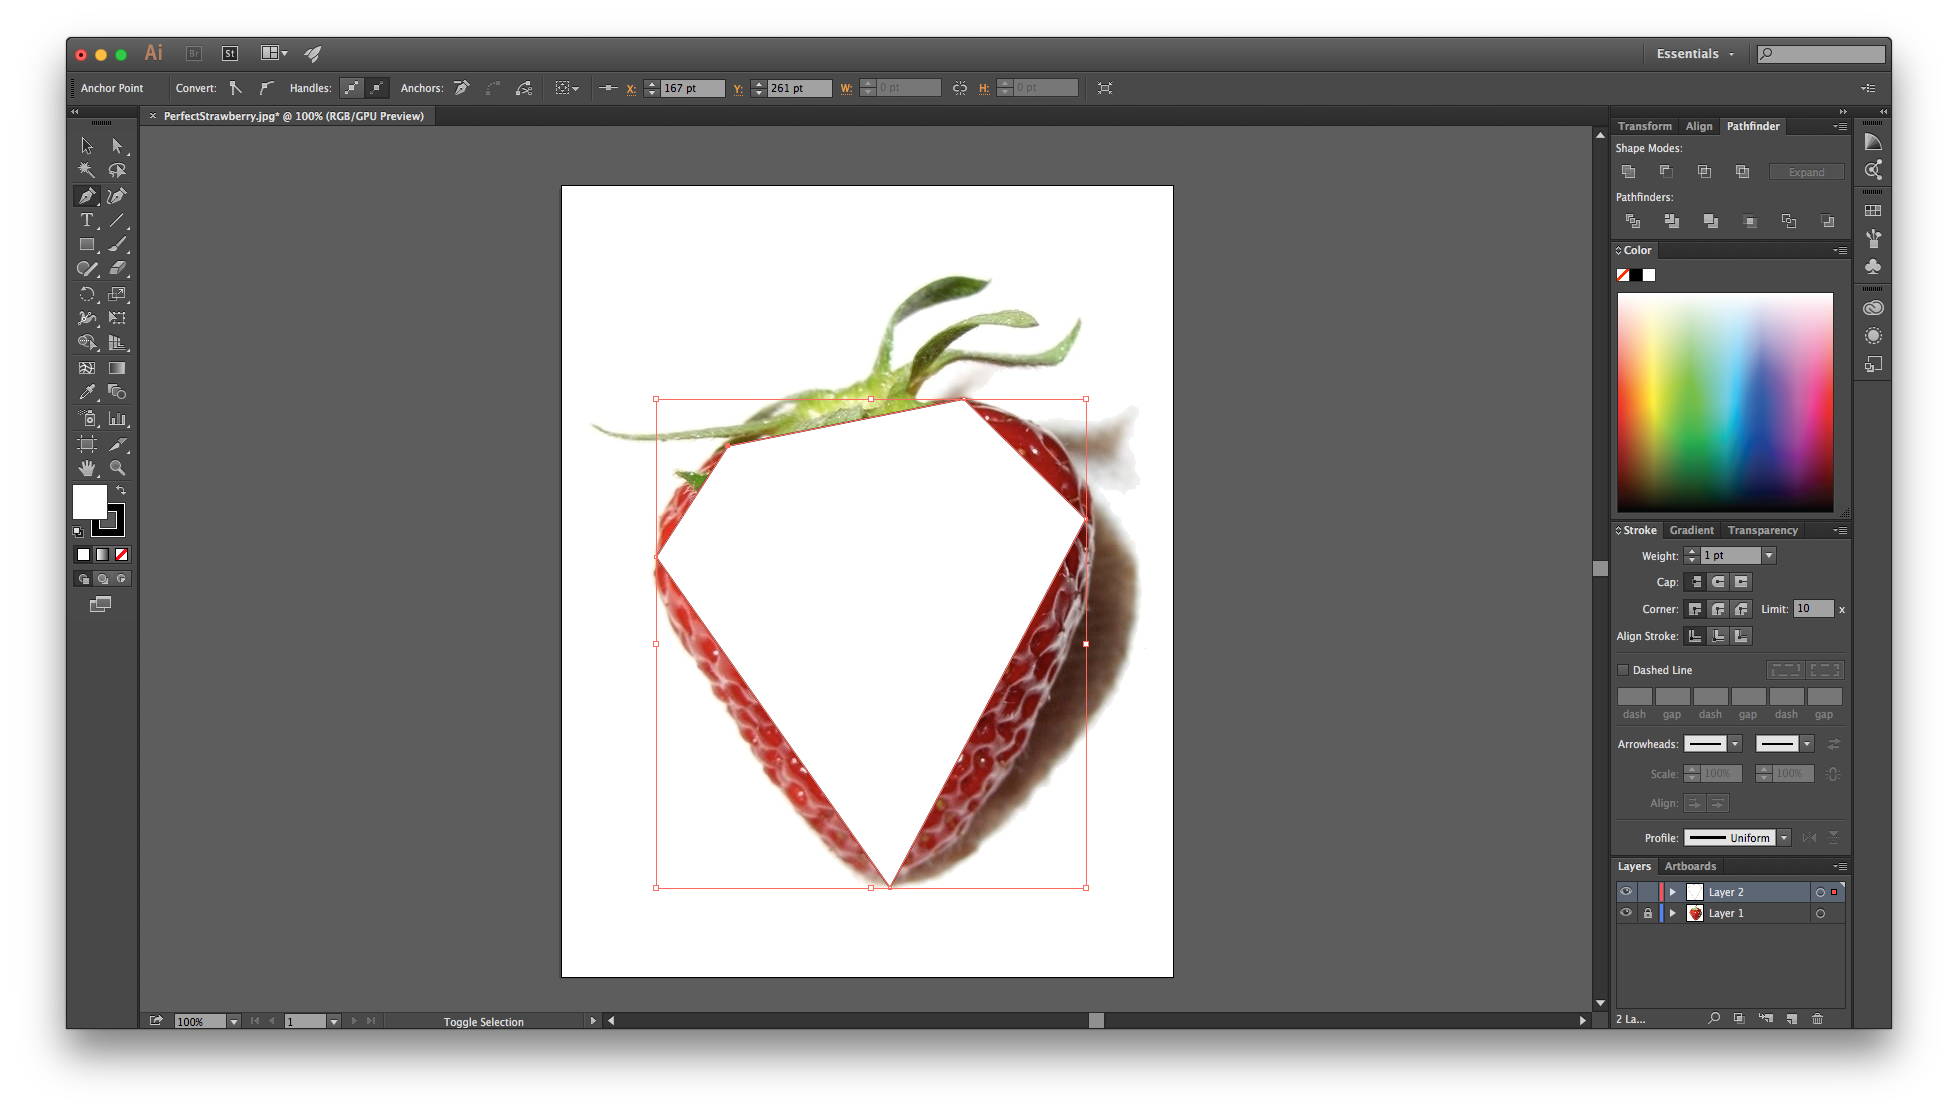
I opened this image in Illustrator, merely earlier I showtime tracing, I want to set a few things upward. For drawing, I like to see a few specific panels on the right. I use Stroke, Artboards, Color, and Pathfinder. Add these past going to the Window option in the top left and selecting each one (Window > Stroke, Window > Artboards, etc).
In the Artboards panel, go to the Layers tab. You should run into 1 layer: either the image you lot're tracing over, or a blank layer. If you're tracing over something, lock that layer and create a new one, for tracing.

Yous lock a layer by clicking on the second column (where the lock is now). You create a new layer by clicking on the Mail service-It notation icon next to the Trash icon. Locking a layer means we won't accidentally movement information technology effectually or mess it up.
Cartoon
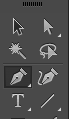
Okay, now nosotros're ready to draw! We'll be using the Pen Tool to create a simple path. Yous can activate it by either hitting P on your keyboard, or clicking on the pen icon on the left.
The Pen Tool works by adding anchor points and joining them together with segments: the whole thing is called a path. So you tin click everywhere you want an ballast point, kind of like a Connect-The-Dots game. Add anchor points wherever in that location's a curve, and attempt to go on them to a minimum. This will make your path much smoother and easier to manage. We tin can add and remove anchor points later, so don't worry almost getting it perfect. Hither's what my path looks like later adding a few anchor points:
If you want a very angular cartoon, you might be done! I'd like my strawberry to wait more than natural, so I'm going to brand some changes to the anchor points.
Before I do that though, I similar to edit the path to show only the outline. This makes it easier to trace. I make the fill transparent and the outline nighttime (on the left side) and increase the stroke weight in the Stroke panel on the right.

The big white foursquare in the foreground is the fill colour. I'm going to click on the picayune square icon with a scarlet line to make it transparent. The black-outlined square in the background is the outline color, and I'm happy with black, so I won't change the color.

Change the stroke weight to whatever works for you.
If you fabricated those changes, your drawing will at present exist a black outline instead of a white shape.
Finessing
Let's make this cartoon curvier. I'm going to use the Lasso Tool (Q on your keyboard, or an icon of a cursor and lasso on the left menu) to draw effectually the anchor points. This volition allow me to select them all speedily, rather than selecting them one at a time.
One tricky thing to notation: if you lot Lasso the entire path, it'll select the segments too as the anchor points, which we don't want. So Lasso around all but one of the ballast points, so it only selects anchor points. It's an Illustrator oddity! We'll come back to that solitary ballast betoken later.
Once yous've selected your ballast points, you lot should see the Anchor Point menu at the top:

If you don't see this, and so the entire path (including segments) is selected, or nothing is. You can also select ballast points manually by hitting A on your keyboard (A for Direct Selection Tool) and shift-clicking each anchor indicate. If you lot have a lot of ballast points, I recommend using the Lasso Tool instead.
On this panel, nosotros're going to select the second Convert option, the i with the curved line. This will give each ballast point 2 handles that create a curve instead of a spike. I have this:

Notice that fasten at the bottom? That was the one anchor betoken I hadn't selected when I used the Lasso Tool. Now I tin can select it manually (hitting A on the keyboard for the Direct Selection Tool, and clicking on information technology), and converting it to lucifer the remainder of the points. Now I have a nice blob:

To make this blob even nicer, I'm going to edit the anchor points using their handles, to get the curves I want. If you lot don't run across the handle points, make sure you lot're using the Directly Selection Tool (A) and you've clicked on the path.

Click on an anchor point. You can select either of its handles and move it around to alter the curve. The handles practise issue each other, so if yous want to only move ane handle and exit the other withal, choice-click the handle you want to move and it'll motility solo. This is helpful for creating precipitous edges and curves.
If you want to become rid of an ballast point, striking P for Pen Tool and hover over the anchor bespeak yous want to remove. Your cursor will have a piffling minus sign adjacent to it. If you want to add an ballast betoken, hit P and hover over the function of the path you want to add a point to: this fourth dimension, your cursor will take a niggling plus sign by it instead.
All this finessing tin can take a while, so take your time and enjoy the meditative ride.
From Paths to Shapes
In one case you're happy with your path, you tin fill it with colour again. Select the path and look for the color swatches on the left carte:

Double-click the large white square to get a color menu. Yous can as well remove the outline by clicking on the black-outlined foursquare then making it transparent (clicking the square icon with the reddish line).

Amazing!
I'thousand going to repeat each step, from making a new layer to finessing the path, to make the greenish leaves. I've subconscious the carmine blob layer by toggling the visibility, and so I can simply focus on the leaves. Here'southward what it looks similar now:

Add as many shapes and paths equally you lot demand. Side by side nosotros're going to look into cutting out shapes from other shapes.
Cut-outs
I want my strawberry drawing to have some seeds, just I want them to be transparent. I'thou going to draw some tiny blobs over the red hulk, then cut them out.

Equally usual, I used the Pen Tool to draw a shape, and then selected the ballast points to curve it out. I like how this seed looks, and so I'chiliad only going to copy and paste it.

Before I can cut out these shapes from the red hulk, I accept to "expand" them. I select every seed, then go to Object > Expand in the summit left corner. It won't look like it did much in this case, but if you have a line for instance, information technology'll change the line from a path to an actual shape. Y'all'll encounter the ballast points expect unlike, but otherwise nothing changes.
Next, I toggle the visibility of the red blob again so I can select it and all the seeds. And so I get to the Pathfinder console on the right. I select "Minus Front" to cut out the front objects (seeds) from the dorsum one (cerise blob).
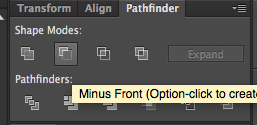

With the drawing behind it, it'south easier to tell how the seeds have become gaps in the strawberry.

If I hibernate the original strawberry image, and add color to the leaves, this is the final product! It'due south not a masterpiece, merely information technology gets an idea beyond and hopefully y'all feel more than comfy with ballast points now. They're the basis for all drawings in Illustrator, so play around with them and experiment.
Here's a summary of some of the keyboard shortcuts:
A = Direct Selection Tool; apply for clicking on anchor points to edit them
P = Pel Tool; utilize to add or remove anchor points
Q = Lasso Tool; use to speedily select multiple anchor points
Five = Selection Tool; default cursor for when yous want to move shapes around
Ultimately, the best way to acquire how to use Illustrator (or any tool) is to but dive in and keep googling every question you lot accept. It's okay if y'all're uncomfortable with it or it takes time to larn. Information technology does for anybody! Then skillful luck, happy googling, and take fun :)

Source: https://thoughtbot.com/blog/drawing-in-illustrator-for-beginners
Posted by: dellingerknobson.blogspot.com
0 Response to "How To Draw A Cloud In Illustrator"
Post a Comment